Ich mache selten Torten, denn nach einem Dinner moegen wir kein schweres Dessert mehr. Aber wenn man Geburtstag feiert, muss eine Torte her. Meistens backe ich solche Werke in der Schweiz, denn dann kommen so viele Familienmitglieder zusammen, dass es sich lohnt, eine Torte zu backen. Grossvater feierte damals seinen 87. Geburtstag und er meinte, “naja, ist nicht noetig, Kuchen zu backen, ein Schokolade Keks ist genug.” Als er dann die Torte sah, war er uebergluecklich! Sie hat ihm sehr gut gefallen und den Gaesten auch, denn es war nicht einmal mehr ein Kruemel uebrig.
************
I very seldom bake big festive cakes. After a dinner we cannot eat a heavy dessert anymore. But if there is a birthday to celebrate, a cake is a must! Usually I bake such cakes in Switzerland, where there are lots of family members and many birthdays to celebrate. Our grandpa celebrated his 87th birthday a few years back and so I made a big cake. He said, no need for a cake (meaning a small simple gugelhupf) a small chocolate cookie would be fine. He did not expect such a big cake and was very surprised and pleased with it. And the guests were happy too, then there were no leftovers at all!

Fuer die drei Schokoladeboeden:
200 g Frischkaese
120 g weiche Butter
190 g Zucker
4 Eier
1 TL Vanillezucker
4 Tropfen rote Lebensmittelfarbe (dies ist nicht dringend noetig, aber die Farbe des Schokoladekuchens wird dadurch etwas heller und kraeftiger)
150 g geschmolzene dunkle Schokolade
300 g Mehl
60 g Kakao
2 TL Weinstein-Backpulver
Den Frischkaese mit der Butter und dem Zucker schaumig schlagen. Nun die Eier zufuegen und mit mischen. Danach die Lebensmittelfarbe, Vanillezucker und die geschmolzene Schokolade dazu geben. Das Mehl mit dem Weinsteinbackpulver und dem Kakao vermischen und sorgfaeltig unter die Schokolademasse heben. Wenn der Teig zu dick ist, wenig Wasser zufuegen.
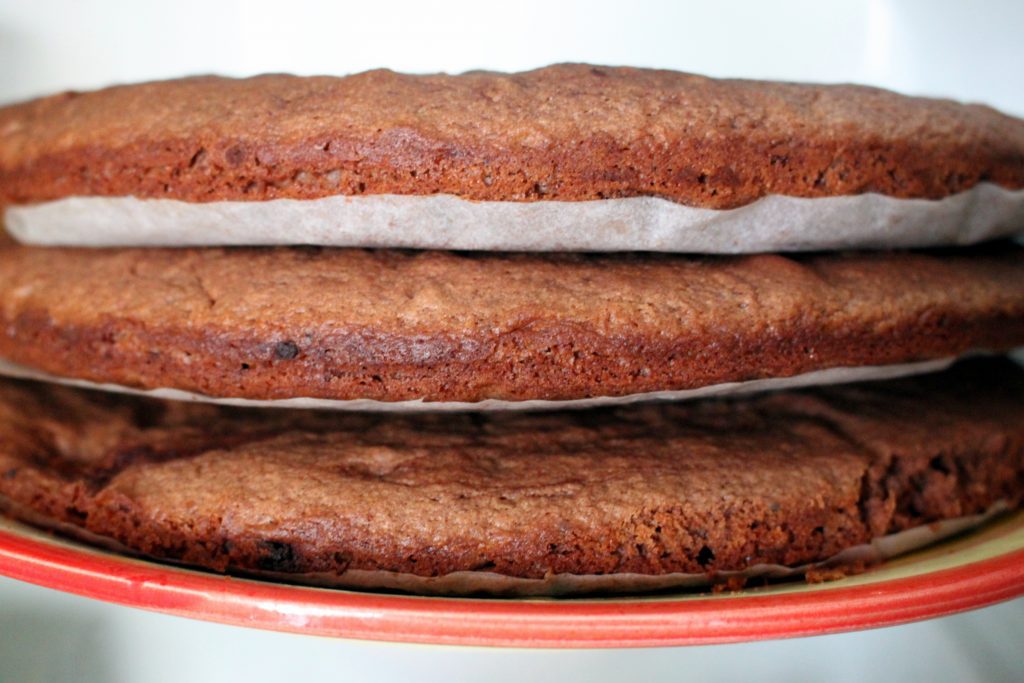
Den Teig in drei Teilen und einzeln in einer 28er Springform ca 15 Minuten auf 180 C Grad backen. Bitte den Boden der Springform mit einem richtig zugeschnittenen Backpapier belegen! Die Boeden auskuehlen lassen.
Sie halten sich im Kuehlschrank ca 2 Tage!
Fuer die Fuellung:
250 g weiche Butter
250 g Puderzucker
4 EL Kakao
4 EL Milch
Die Butter mit dem Mixer schaumig ruehren. Den Puderzucker und den Kakao durch ein Sieb streichen und mit dem Mixer in die Butter mischen. Die Milch zugeben und alles nochmals gut mixen.
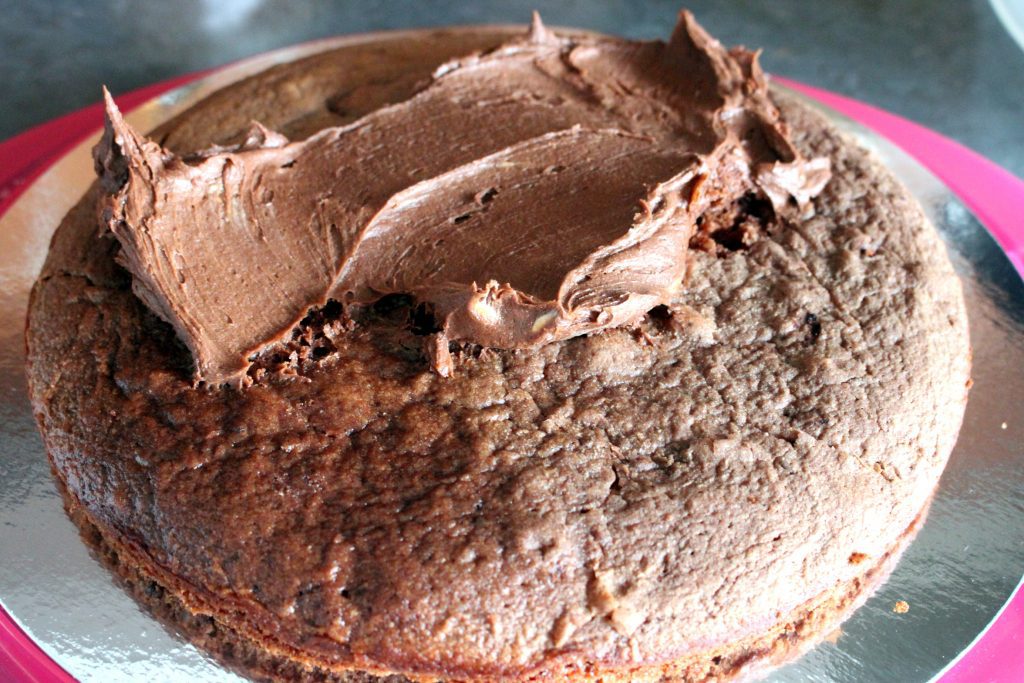
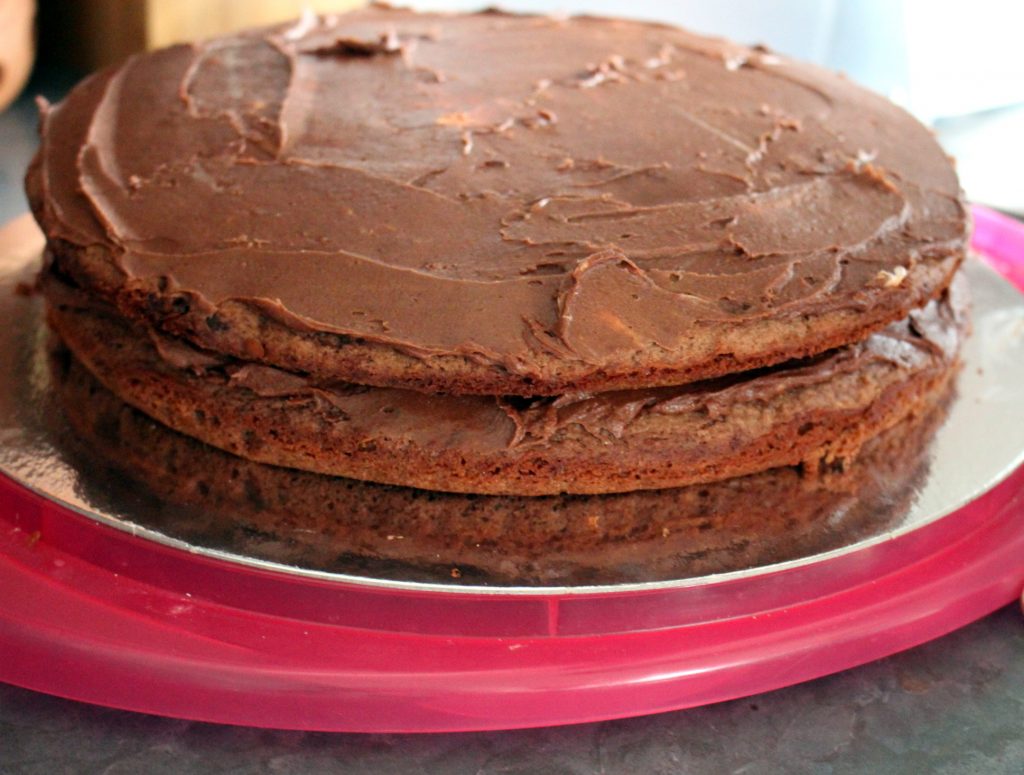
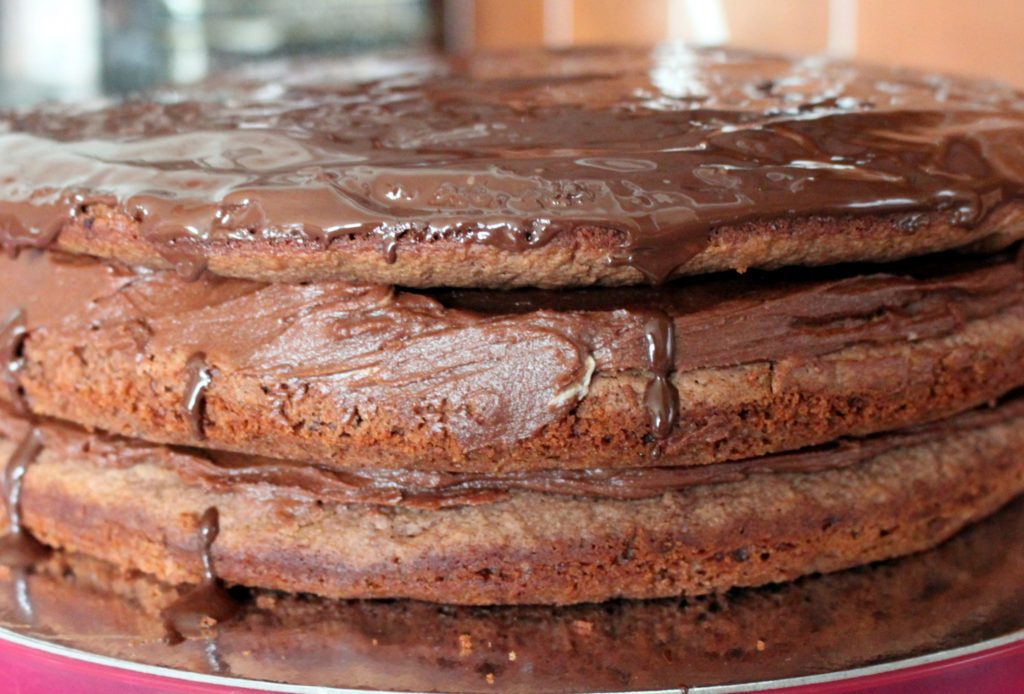
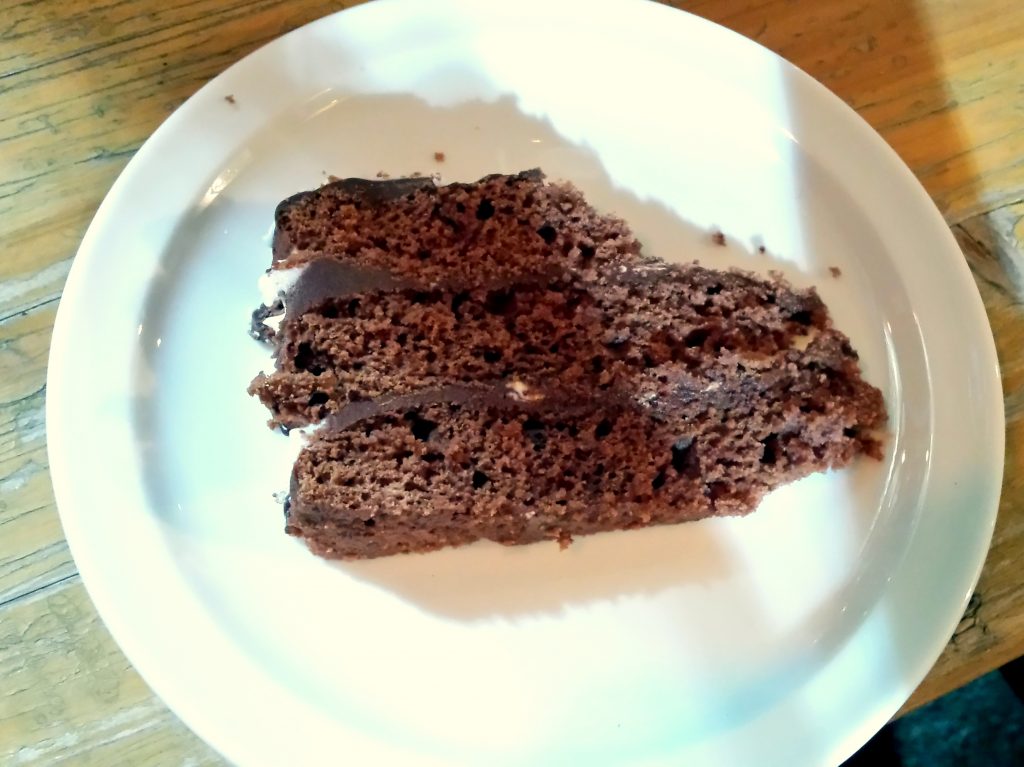
Den ersten Kuchenboden auf eine Servierplatte legen, mit der Haelfte der Fuellung bestreichen. Den zweiten Boden darauf geben und mit dem Rest der Creme bestreichen. Den letzten Boden verkehr therum darauf geben und mit einem Beutel geschmolzener Kuvertuere begiessen.
Nun kommen wir zur Dekoration!
Fuer die Pralinen:
Man braucht eine Silikon-Pralinenform
100 g dunkle Schokolade
100 g weisse Schokolade
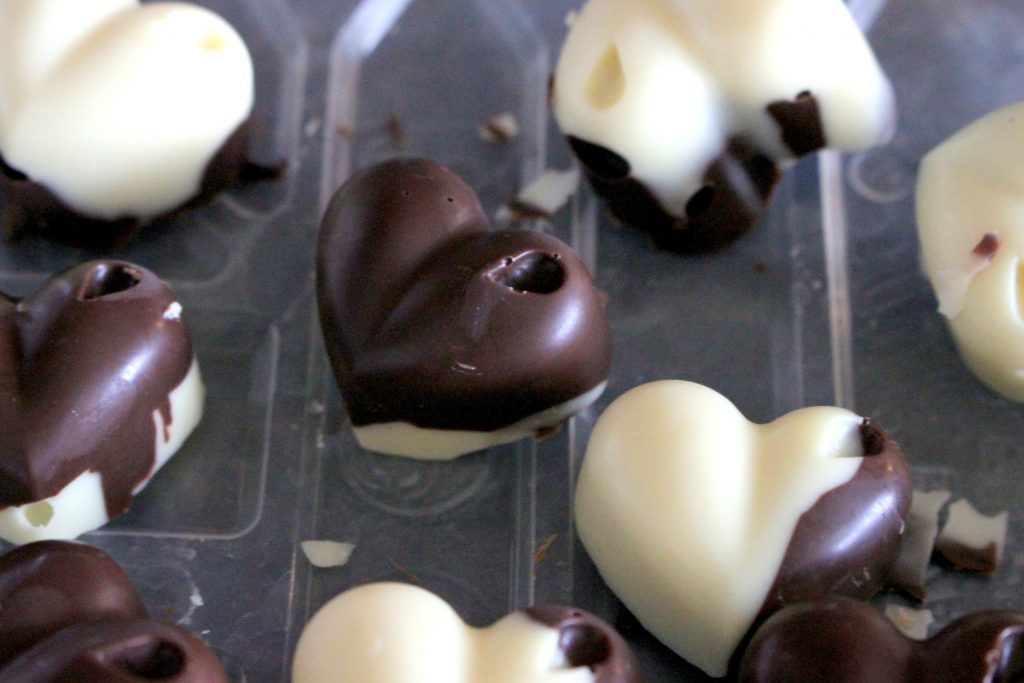
Beide Schokoladen einzeln im Wasserbad schmelzen, denn mit einem Kaffeeloeffel jeweils von jeder Schokolade etwas in die Foermchen geben. Gut durchkuehlen lassen, dann sorgfaeltig aus den Foermchen druecken.
Fuer die Erdbeeren:
4-5 Erdbeeren waschen und gut trocken tupfen.
50 g weisse Schokolade im Wasserbad schmelzen und die Erdbeeren darin drehen. Gut kuehlen lassen.
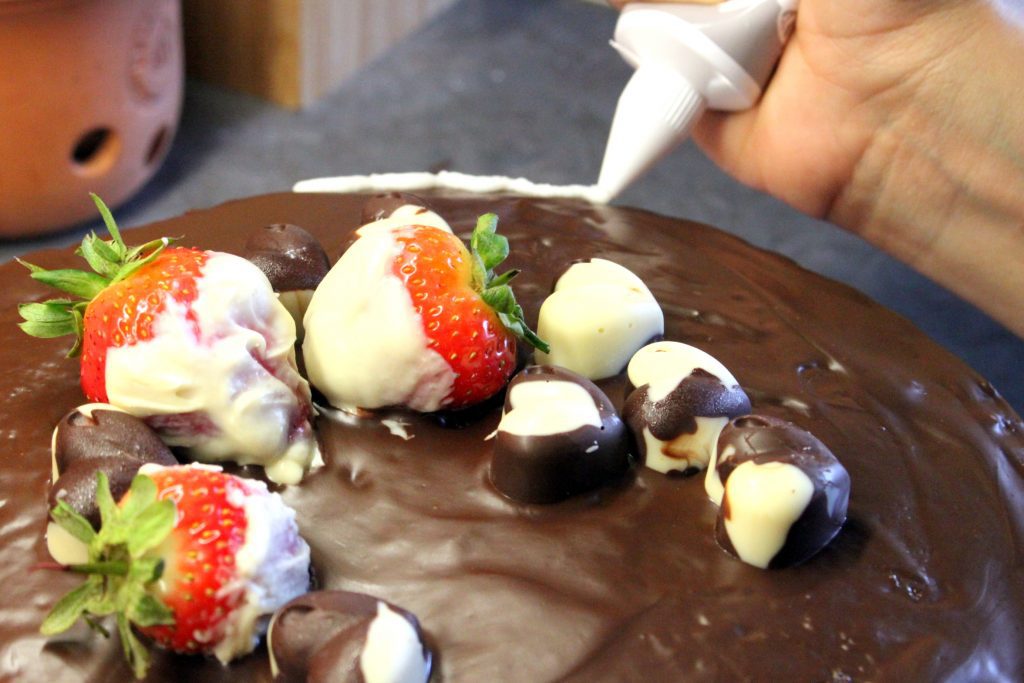
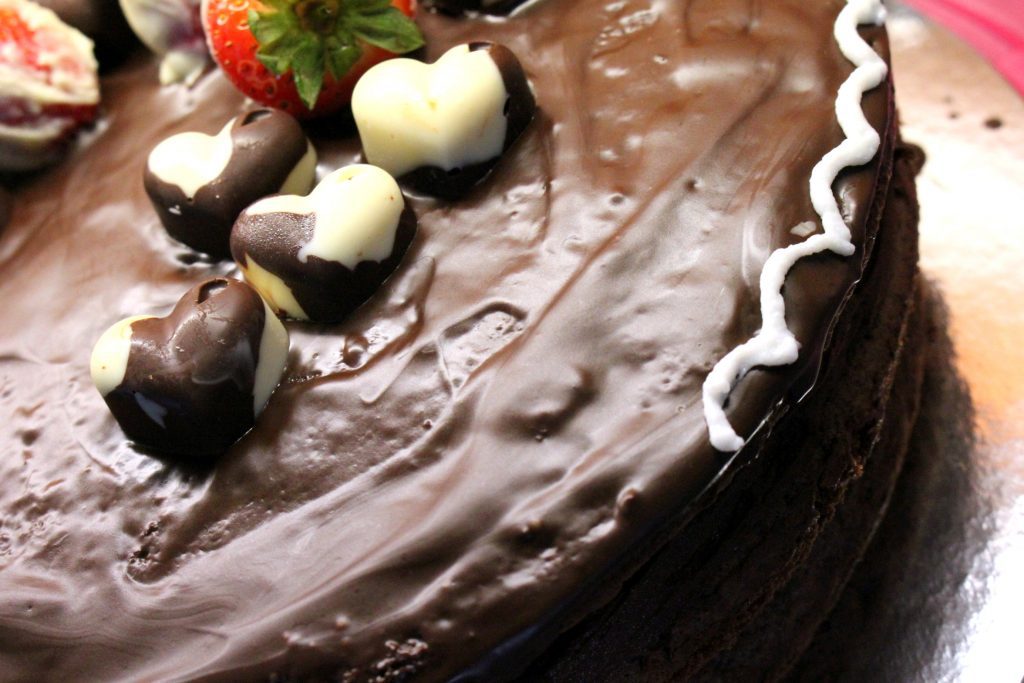
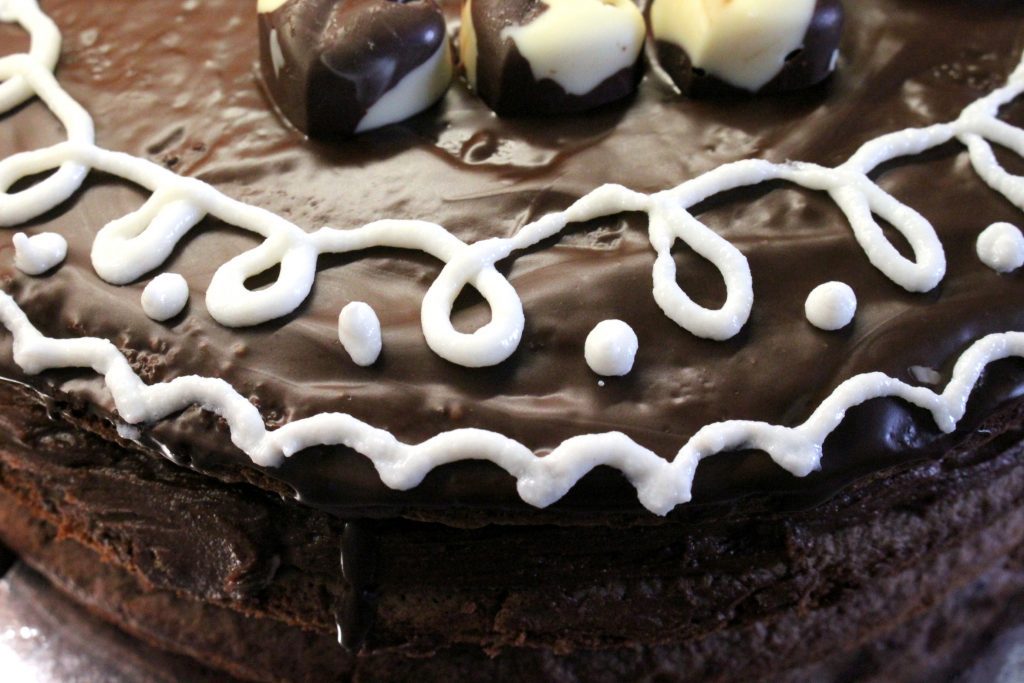
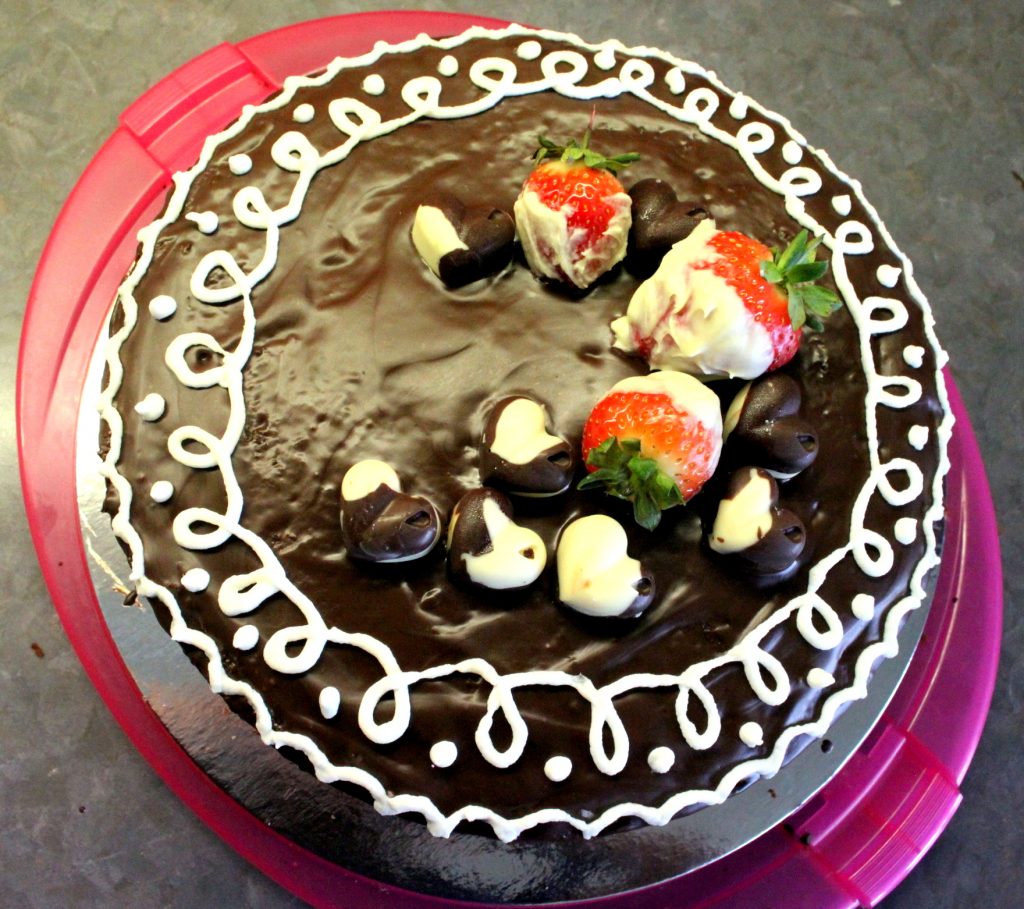
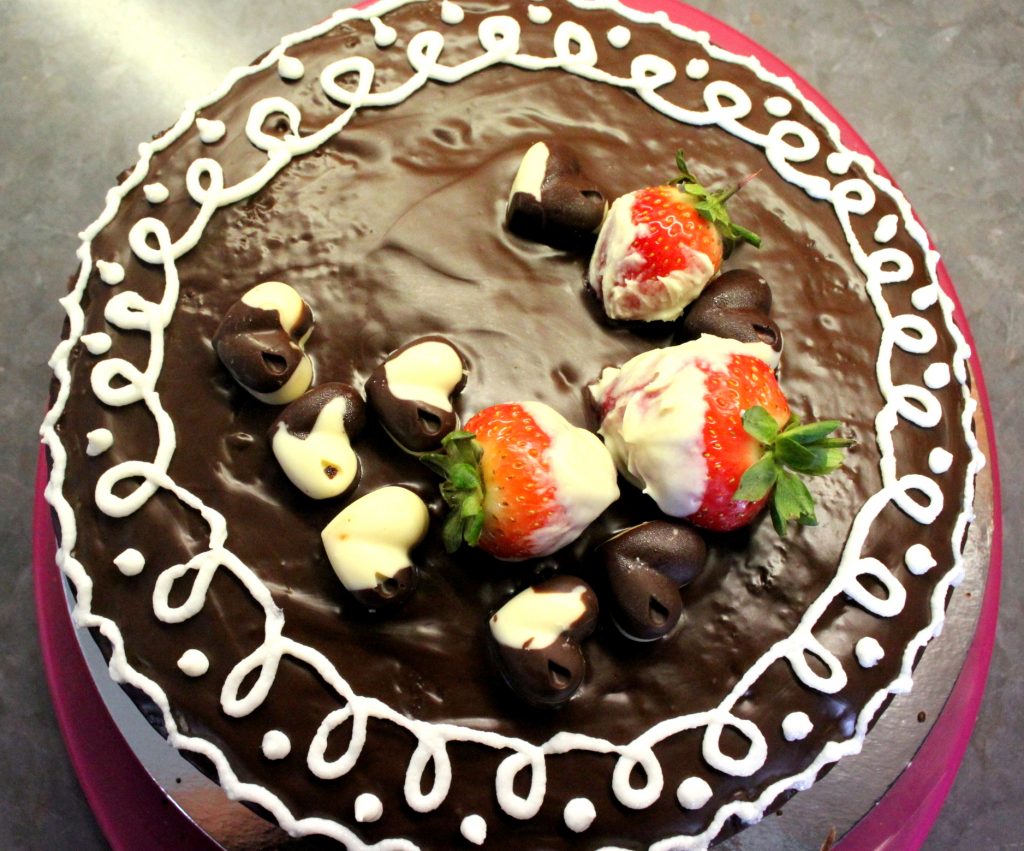
Meine Tochter half mir mit den Dekorationen. Die Pralinen und Erdbeeren auf der Torte verteilen, mit einem gekauften Zuckerstift Schnoerkel auf die Torte machen und je nach Wunsch dekorieren.
Die Torte bis zum Verzehr im Kuehlschrank lagern!
Wir haben in die Mitte der Torte die Kerzen angebracht und so war die fertige Torte ein Prachtsstueck!
Das naechste Mal mache ich doppelt soviel Fuellung, damit ich die Seiten der Torte auch decken kann, das wuerde etwas schoener aussehen!
************
For 3 layers of Chocolate cake:
200 g Cream Cheese
120 g soft Butter
190 g Sugar
4 Eggs
1 tbsp Vanilla Sugar
4 Drops of red Food Coloring (you can omit this, but it will give the cake a nicer and fuller color)
150 g melted dark Chocolate
300 g Flour
60 g Cocoa
2 tbsp Bicarbonate of Soda
Beat the cream cheese with the butter and sugar until soft. Add the eggs and mix them in. Now add the food coloring, vanilla sugar and the melted chocolate. Mix the flour, bicarbonate of soda and the cocoa together and fold it into the chocolate mixture. If the dough is to thick add a little water.
Part the dough into tree parts and bake each part in a 28 cm cake dish for 15 minutes in a 180 C oven. Please layer the cake dish with a ready cut baking paper! Let the three cakes cool down completely.
You can make them in advance, the cakes will keep in the fridge for 2 days.
For the Filling:
250 g soft Butter
250 g Icing Sugar
4 tbsp Cocoa
4 tbsp Milk
With a mixer beat the butter until fluffy. Sift the icing sugar and cocoa and add to the butter. Mix well. Add the milk and mix again until soft.
Put the first cake layer on a serving dish and spread half of the filling onto it. Add the second cake layer and spread with the other half of the filling. Now put the third cake layer upside down onto the cake and pour some melted dark couvertuere of chocolate over the cake.
Now let’s do the decoration!
For the Pralines:
You need a Silicon-Praline form
100 g dark Chocolate
100 g white Chocolate
Melt each chocolate separately in a bain-marie, then give 1 tsp each into the silicon-praline form. Let the pralines cook completely then remove them carefully from the silicon.
For the Strawberries:
Wash 4-5 Strawberries and dry them carefully.
Melt 50 g white chocolate in a bain-marie and turn the strawberries in the melted chocolate. Let them cool down.
My daughter helped me with the decorations. Now decorate the cake with the pralines and strawberries. We made decorations also with a sugar-pencil.
Keep the cake in the fridge until ready to serve!
We put some candles into the middle of the cake and so it was a beautiful cake for a great celebration!
Next time I will make double the amount of the filling, to cover the sides of the cake too. It would just look a little more clean and nice.








![Validate my RSS feed [Valid RSS]](https://pane-bistecca.com/wp-content/uploads/2024/05/valid-rss-rogers.png)